Ever since I learned the color wheel in art classes (way back when!), I've been in love with color, especially those opposite each other on the color wheel. Layering colors is a favorite technique, whether with paint, threads or fabrics. Consequently, I love Rust! And I love Shabby Anything! I love peeling paints that reveal a history about that object.
Here are a few examples of layered color; I just went around my house and snapped a few shots to share.

Beautiful purple/blue ceramic pot on my patio....glazed layers of color.

I inherited this chair from a favorite aunt. I don't want to ever paint over the rust!

I adore my wrought iron gate that originally graced a home in New York City! I admire it's rusty patina.

Here is an oil painting I did in college. It is a perfect example of using layers to create more interest than, say, just painting the leaves green. I still remember the assignment: Paint the entire composition, and then paint on top of the whole thing with opposing colors. One had to plan and think about the end result! In order to end up with green leaves, I had to paint them red first! In order to have an orange background, I had to paint it purple first! And so on....


This project uses open stitches to create multiple layers. I don't like to match threads to the background hardly ever. Sometimes, the subject does call for that, but seriously, it is so much more interesting to me to choose different colored threads to stitch that which is painted.


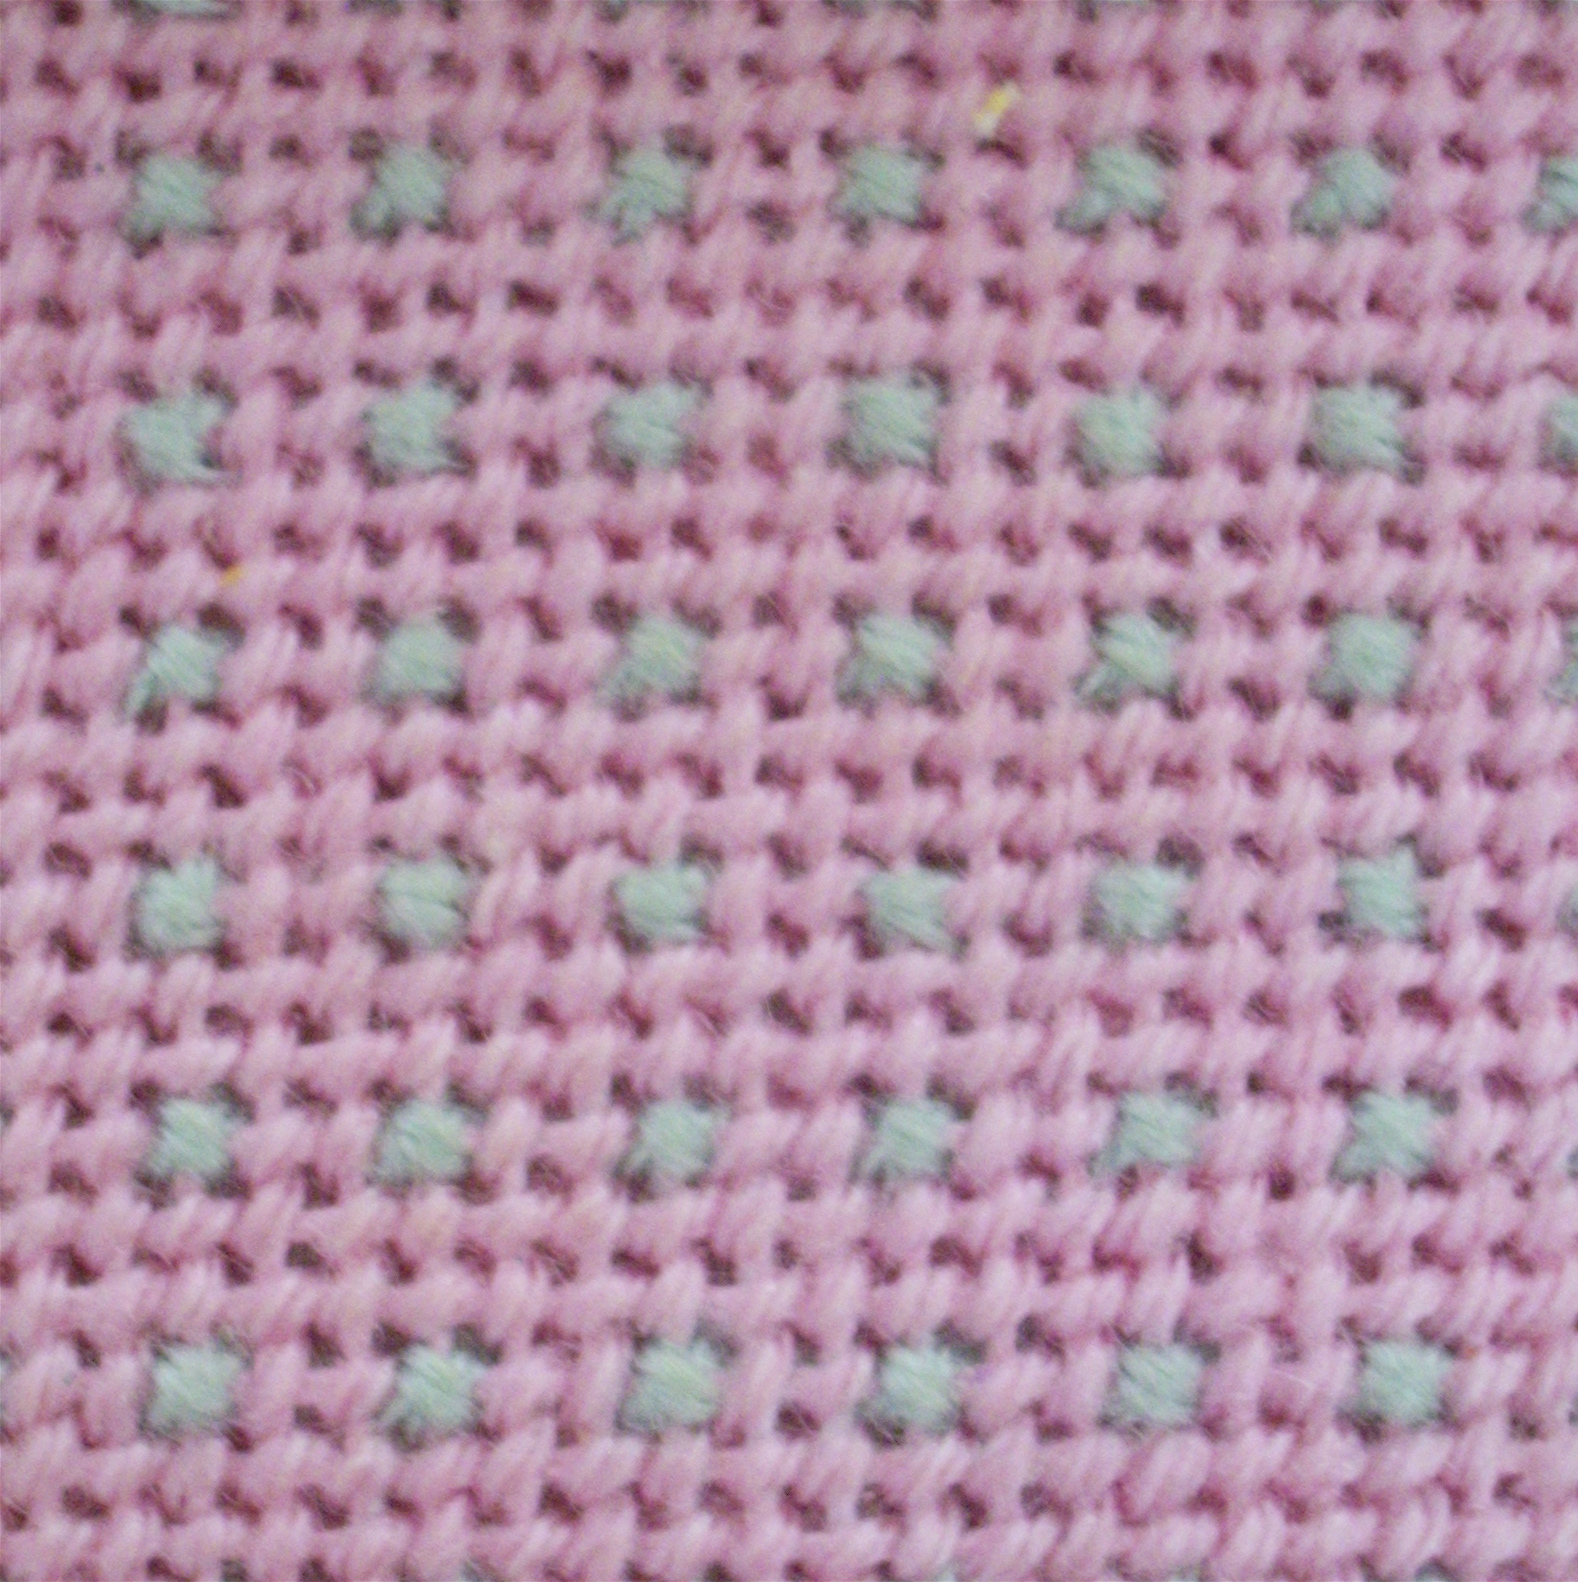
when you could stitch this...!

So, here's the deal! Go get yourself a color wheel, and next time you get ready to stitch a solid color on your painted needlepoint canvas design...be it a brown dog, a red apple, or a green leaf....get out that color wheel, and pick a complimentary color, or an opposing color thread...even in overdyed tones. Use an open stitch...allow the original paint layer to show through. You might just start calling yourself a real artist!


That EGA piece is fabulous...hope you'll be teaching it at the Phoenix EGA.
ReplyDeleteBarbara, Thanks for always pushing the boundaries and making us think in new and innovative ways!
ReplyDeleteWonderful idea! I'm in the design stage of a new project. I'm going to have to play with this idea for the sky. It brings so many ideas to my mind. Thank you for sharing!
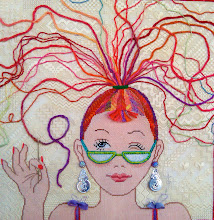
ReplyDeletegorgeous! Luv the butterfly. Is this a class you are teaching?
ReplyDeleteJeannine
Yes, I am teaching the butterfly, although it is really a moth! The class will be taught at the EGA National Seminar in Santa Fe, NM in November. The title is Las Flores de la Noche....The Flowers of the Night!
Delete