Sunday, June 17, 2012

I have felt so remiss lately because it has been weeks since I did a blog post.  I have been Busy!  It has been a full summer with teaching, suffering summer colds, cranking out orders, writing stitch guides, stitching, designing, and having out of town family visiting.  (Loved That!)  The next few weeks are already filled up as well, so I decided to re-post two old blog entries from 2009.

Yesterday, our first summer monsoon arrived!  If anyone knows about AZ monsoon season, you know this is a highly anticipated event.  It heralds in cooling relief for the next several weeks from the intense 'dry' heat the region is famous for.  Yesterday's arrival was a bit of a surprise.  Usually the day falls in mid July, after weeks of seeing the clouds build every afternoon.  But what a lovely surprise it was!  And IF ONLY I could market the smell of Arizona wet earth, dampened by rain!  I'd be a billionaire!  I envision selling it in spray cans, so people could aerate their rooms and walk around in aromatic bliss!  Moods would change...people would be more kind, cheerful.  They would also feel more energized from the faux ions charging the air.  Lots of stitching would get done!  Chores would be whipped right out, with no grumbling!  Colors would appear brighter, more vibrant.
Ok..ok, but Hey...placebo works, right?

Here's the placebo effect in stitch!  Enjoy and go gaze at your own clouds!


Janet Perry sent me a photo of this piece called Gibraltar, inspired by Clarice Cliff’s pottery.  I don’t know about Clarice’s pottery, but I’m going to find out.  I bet it is very appealing!  The clouds stitched here are in Nobuko stitch using Medici and have a whipped backstitch outline.  Very nice!


Well OK now....Thank You  Google for enlightening me!  She was only
“The most prolific and possibly important Art Deco ceramics designer of
the Twentieth Century!”    Here are two of her pieces where the influence
for the above canvas is surely represented:


Such designs would be very engaging to stitch!  Very graphic and bold clouds, these!  The stitches used in the Gibraltar clouds are the right choice.


Sundance Designs mother/daughter team conspired on this beautiful landscape which they taught at a Sundance stitching retreat in (where else!) Sedona, AZ , probably 10 years ago.  Nandra Hotchkiss selected the threads and stitches, for which she has an amazing talent!  She can study a piece and see the perfect stitch in her mind’s eye, just as they will appear!  Her mother Cassie stitched the piece beautifully and skillfully, following Nandra’s instructions.
(I bet she didn’t even have to rip out!)


Here again, as in the Gibraltar piece, the clouds are bold and graphic, reminiscent of the Art Deco period.  These types of designs are very satisfying to stitch because the ‘layout’ is easy to follow, easily defined, and shows off the various stitch patterns to their fullest.   Nandra brilliantly chose progressively darkening colors for the receding clouds, as if a thunder storm were brewing!


 My final word for you today (June 17, 2012) is this:   For the ultimate in Cloud Stitching...check out  the Stitch Landscape book by Little Shoppe Canvas Company, inc.  ©2011
I've never seen such beautiful stitches for clouds 'under one roof!'  Not to mention flowers, grass, mountains, sand, shrubbery, sky, snow, soil, stone, trees, water.  Yep..that's the stitch reference book to go to!  Ask you LNS to order it for you if they don't have it in stock!  (I received no compensation for this endorsement!)  Happy Stitching, clouds, rain, or not!

Saturday, April 21, 2012

More is More, Marie!

Yes, there is that:  More IS more!  And for some, it is too much.  For others, it is never enough!  I have to go with the latter ; today, I made a fabric mat for Marie's Shoe Closet, a piece I've been stitching on for several months.  It is nothing short of opulent, with silk roses, golden swags, shimmery curtains, and rows of delicate little embellished shoes fit for a queen, namely one Marie Antoinette!

Because I travel with my stitched models, I've long given up framing the pieces if I can help it.  It is very expensive to have a piece framed, and travel and frames don't mix.  The money invested in the framing has been wasted, as the frames will become damaged, chipped and broken.  Also, the weight of the frame adds to the weight of my luggage or shipping costs.  It is much easier I've found, to simply mat the pieces with mat boards and fabric covered foam core boards.  These have proven a good solution for a nice presentation of my stitched models, and weigh very little.  If they do get damaged, I can easily replace them.

Marie's Shoe Closet called for More than a simple mat however.   My inspiration for the mat today came from a vintage frame I found perhaps 30 yrs ago at a yard sale.  (Some of my dearest treasures have been other people's junk!  Go figure!)  Here is my beautiful little frame which I used for years in my booth at trade shows.  I just love it, and it hangs in my studio.  (And just so you know, my foray into counted cross stitch was very short lived.  I learned I'd rather clean toilets than chart a design!)


 Here is a close up of the carved detail on the frame.  Just looking at this type of decoration evokes romance, doesn't it?  The concept was perfect, but how to add it to a fabric mat?


How I do love the world wide web!  How I do love all the crafting materials at our disposal today!  How I do love Joggles.com! 
I was able to purchase some cast embellishments used mainly in scrapbooking, but just what Marie ordered!  These are from Melissa Frances and couldn't be more perfect!  I painted them with my favorite Krylon 18K Gold Leafing Pen.

And yes, the finished mat is over the top, but I can't help but think Marie would approve.   If nothing else,  it allows me to have my cake and eat it too!  What do you think?


Saturday, April 7, 2012

Layers~

I didn't dye any Easter eggs this year, but I sure saw a lot of colorful and fun ideas on how to dye them, create patterns on them, and decorate them into little works of art!  Rubber band resists!  Stenciling.  Overdying.  So many ideas.  So little time!  Maybe that is why I've been thinking about layers in my stitching so much lately.  Layers of paint, layers of threads, layers to create color, dimension and texture. 

Ever since I learned the color wheel in art classes (way back when!), I've been in love with  color, especially those opposite each other on the color wheel.  Layering colors is a favorite technique, whether with paint, threads or fabrics.   Consequently, I love Rust!  And I love Shabby Anything!  I love peeling paints that reveal a history about that object.

Here are a few examples of layered color;  I just went around my house and snapped a few shots to share.

           
Beautiful purple/blue ceramic pot on my patio....glazed layers of color.


  I inherited this chair from a favorite aunt.  I don't want to ever paint over the rust!


I adore my wrought iron gate that originally graced a home in New York City!  I admire it's rusty patina.

This is a cupboard door on my dining room side board.   It originally came from India.  It makes me happy to see all those scratches in the sanded colorful layers, protected now by a good wax job!

Here is an oil painting I did in college.  It is a perfect example of using layers to create more interest than, say, just painting the leaves green.  I still remember the assignment:  Paint the entire composition, and then paint on top of the whole thing with opposing colors.  One had to plan and think about the end result!  In order to end up with green leaves, I had to paint them red first!  In order to have an orange background, I had to paint it purple first!  And so on....

I've carried this technique of layering into my needlework.   Thanks to DeDe Ogden, who is attributed with inventing "Shadow Stitching" with open stitches that reveal what's underneath... we can now add layers of color and dimension with ease.

This project uses open stitches to create multiple layers.   I don't like to match threads to the background hardly ever.  Sometimes, the subject does call for that, but seriously, it is so much more interesting to me to choose different colored threads to stitch that which is painted.


 Here is a project I'll be teaching this fall in Santa Fe for the EGA National Seminar.  I not only used layers of thread, I used layers of paint!  Stitching, then painting, then stitching some more!  And finally, a layer of beads for accent!

Who wants to stitch this.....?


when you could stitch this...!


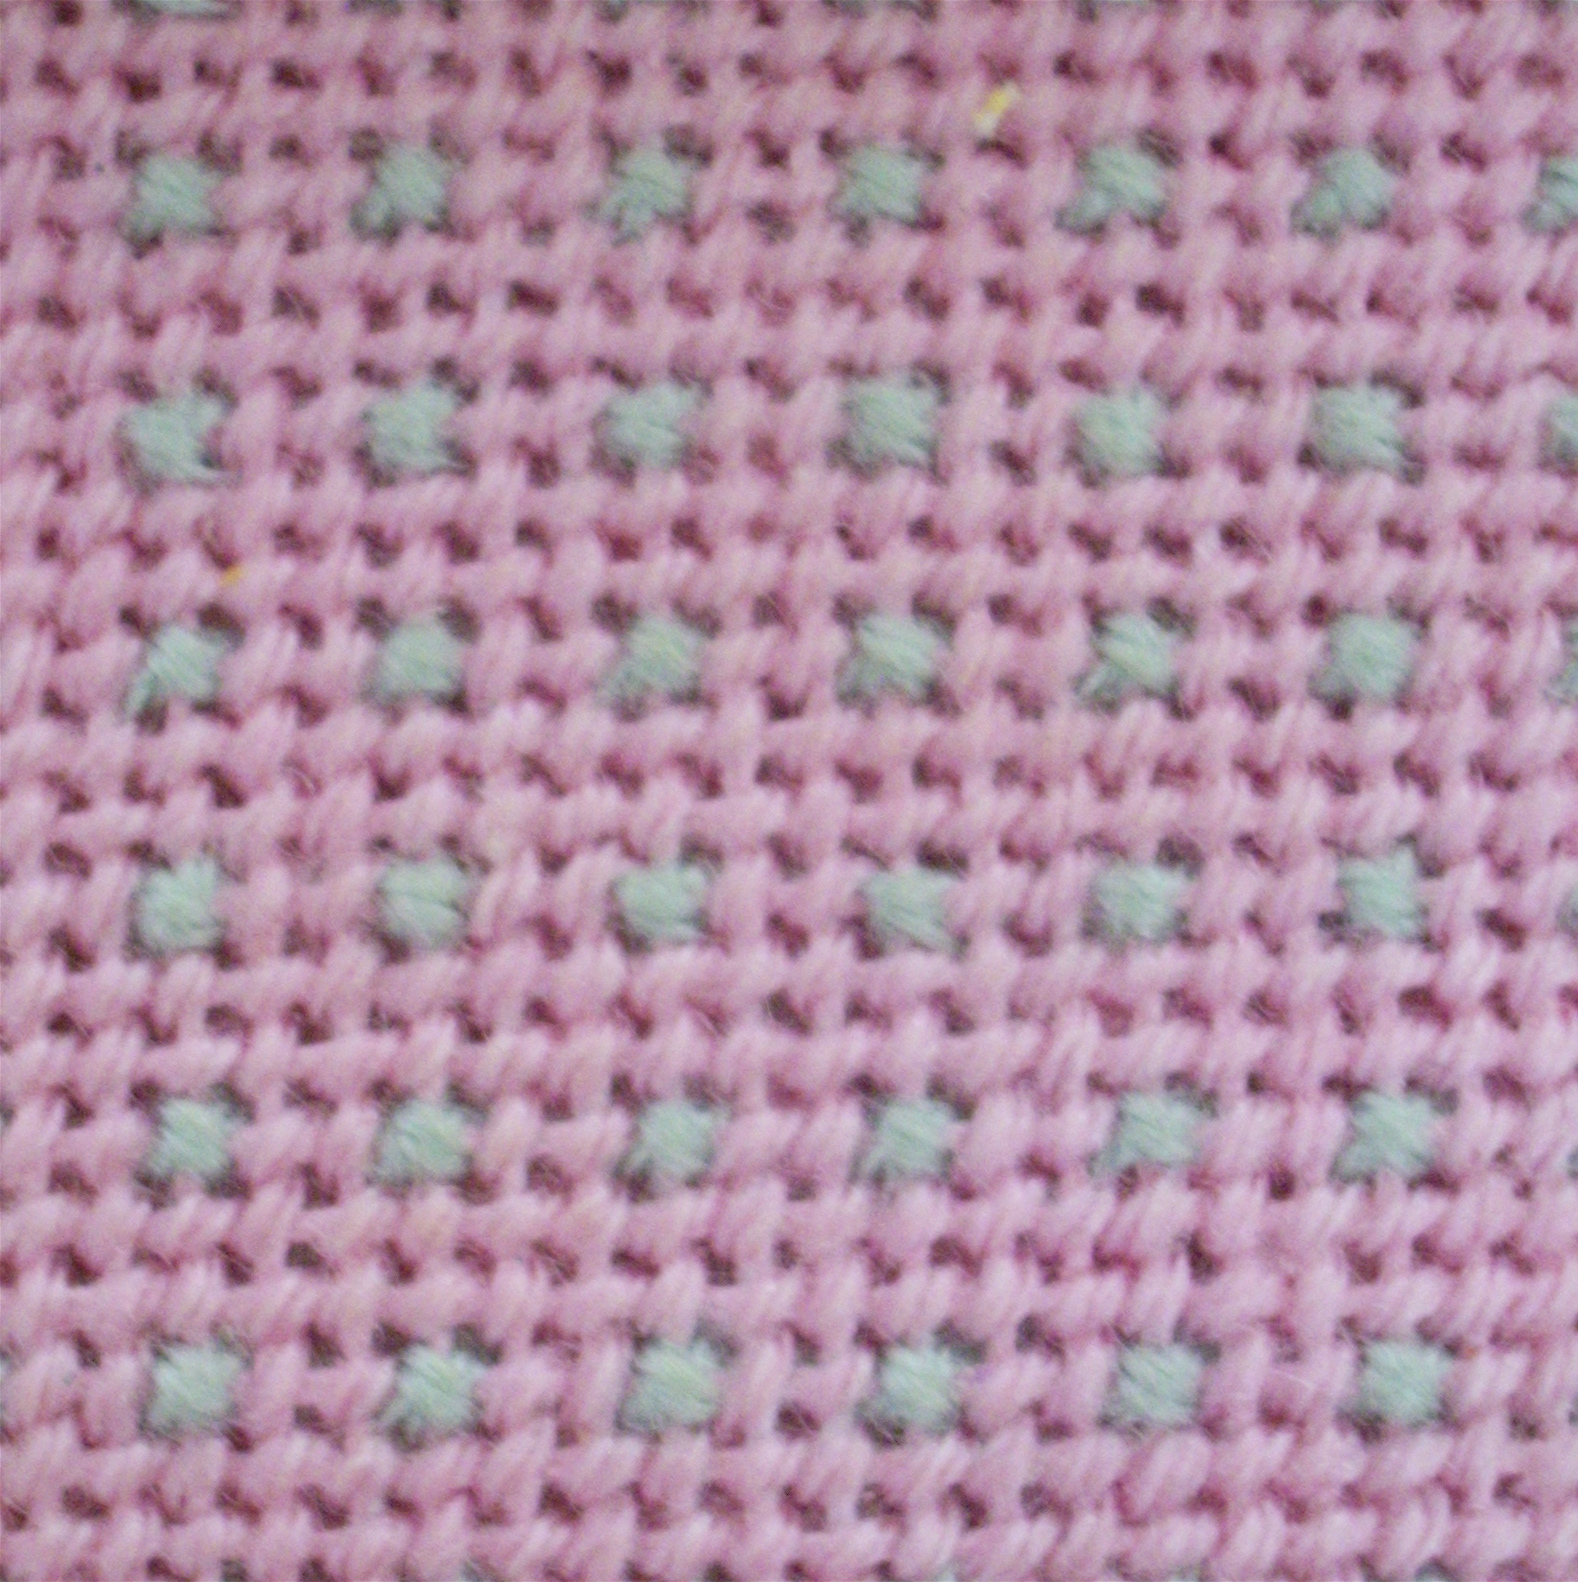
So, here's the deal!  Go get yourself a color wheel, and next time you get ready to stitch a solid color on your painted needlepoint canvas design...be it a brown dog, a red apple, or a green leaf....get out that color wheel, and pick a complimentary color, or an opposing color thread...even in overdyed tones.  Use an open stitch...allow the original paint layer to show through.  You might just start calling yourself a real artist!